Coming home from extended vacation or a day at work to find your home flooded can feel like your worst nightmare. Not only do floods pose serious threats to your belongings and property, but they also require extensive cleanup measures.
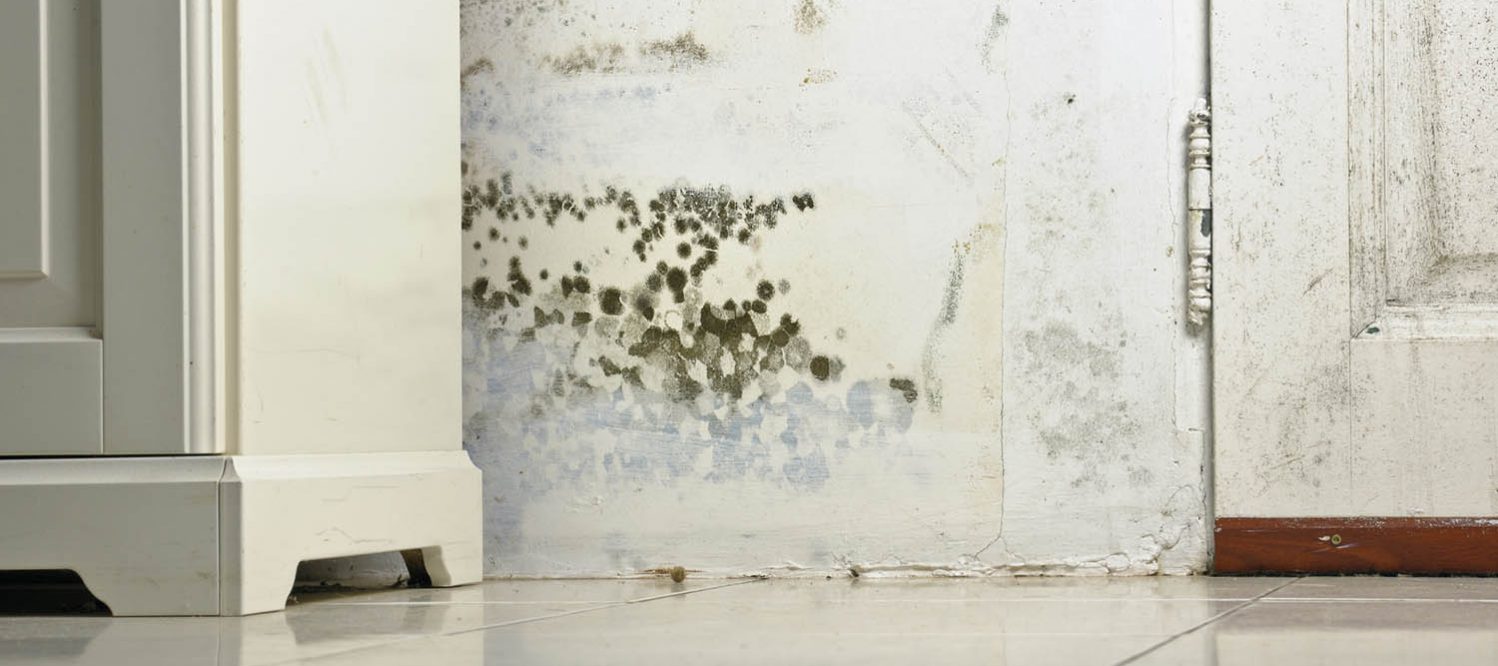
Once you remove the standing water and begin the drying process, you may feel like you’ve avoided all serious threats. However, in many cases, mold begins to grow after a flood, causing even more damage to a home or to your possessions.
Immediately after a flood, ventilate the area, remove standing water and move saturated items, and follow instructions given by your plumber and by restoration professionals. Once you avert the immediate crisis, take the following six steps to prevent mold from taking hold in your home.
1. Dry Thoroughly
Mold consists of fungal spores that germinate and grow in wet, dark environments. In many cases, a previously flooded home provides lots of nooks and crannies where mold can occur.
Your first step in mold prevention is to dry the area thoroughly. You may need to rely on a sump pump to remove standing water and industrial fans to remove lingering moisture.
Manually dry the insides of any cupboards and check every appliance for missed wetness.
2. Remove Affected Flooring
Wet carpet provides the perfect growing conditions for mold. To eliminate the threat, you will have to remove all wet carpeting. In many cases, a restoration specialist can clean, dry, and reinstall your carpeting.
However, you cannot reuse a flooring pad once it gets wet. Remove these pads and replace them with new pads once you dry the flooring foundation completely.
3. Ventilate Affected Wall Materials
In most cases, you will not need to remove entire wall pieces to prevent mold. However, you must ventilate any wet walls so you don’t give mold spores anywhere to hide.
Take these steps:
- Cut away any saturated wall materials.
- Dispose of all wet insulation and replace it.
- Put slits in drywall to allow moisture to escape.
- Remove any wet baseboards.
4. Decrease Humidity
Even if you successfully remove all the moisture left by a flood, high humidity levels can encourage mold spores to germinate and spread. To prevent this, invest in a dehumidifier. Keep the humidity in your home low until you finish the flood restoration process.
5. Isolate Any Moldy Objects
If you’re out of town when a flood occurs, you may not know about the damage until after mold has had some time to grow. As you work, keep an eye out for any mold.
If you see mold on a nonporous object, such as plastic or metal, ask a mold remediation professional’s help to remove the growth and clean the object. However, if mold occurs on a porous object, you will probably need to dispose of it.
To prevent contamination, seal moldy objects in trash bags. If possible, dry or freeze any object you want to salvage right away. Removing mold from moisture and air can halt its growth. Do not attempt to clean moldy objects yourself-let a trained professional handle the task.
6. Disinfect
As you work, disinfect surfaces to make them less hospitable to mold growth. Use a normal disinfecting cleaner on nonporous surfaces. For porous surfaces and saturated items, apply a mold prevention solution such as Concrobium after drying.
Every flood situation requires different steps to resolve it completely. Work with a restoration and water removal specialist to ensure you take every necessary step to protect your home.
Remember, mold does not automatically result after a flood, but wet conditions can encourage mold growth over time. For this reason, it’s better to address water damage immediately.
As you restore your home to its pre-water damage condition, check off each of these steps to protect yourself and your family from the health hazards mold can create.

